Introduction to MasterFrame
These Tutorials will require you to have access to PowerPad , MasterPort, Steel Connections ,Composite,
Masterframe is a piece of advanced structural frame analysis software that allows you to analyse everything to beams, and trusses to multi-storey frames and complex 3D models in any type of material. MasterKey Steel Design allows for the design of members in steel structures analysed using MasterFrame, or MasterPort to the BS, Euro or SABS codes.
If you do not have access to any of this software, please contact us for a 14-day free trial to learn how it can benefit you and your business.
Version Information
These tutorials have been written for version 2024.01 of the MasterSeries software suite. Subsequent versions of the software may have additional features, or changes in layout, however the general procedure will remain the same.
Contact
We strive to make our tutorials as simple as possible without compromising on the technical aspects of the analysis procedure. Should you discover any errors, omissions, or are in need of additional clarification, please contact us by emailing your comments, or corrections to help@masterseries.com.
We’re social – follow us on LinkedIn and Youtube to keep up to date!
Loading MasterFrame
To start this tutorial, launch the main program of MasterSeries.
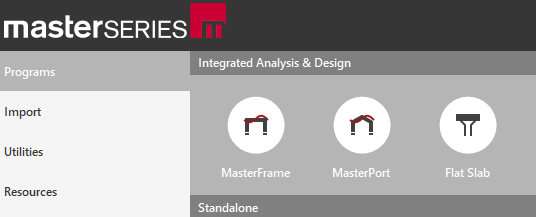
While standing on the Programs tab, select the MasterFrame from the Integrated Analysis &
Design filed.
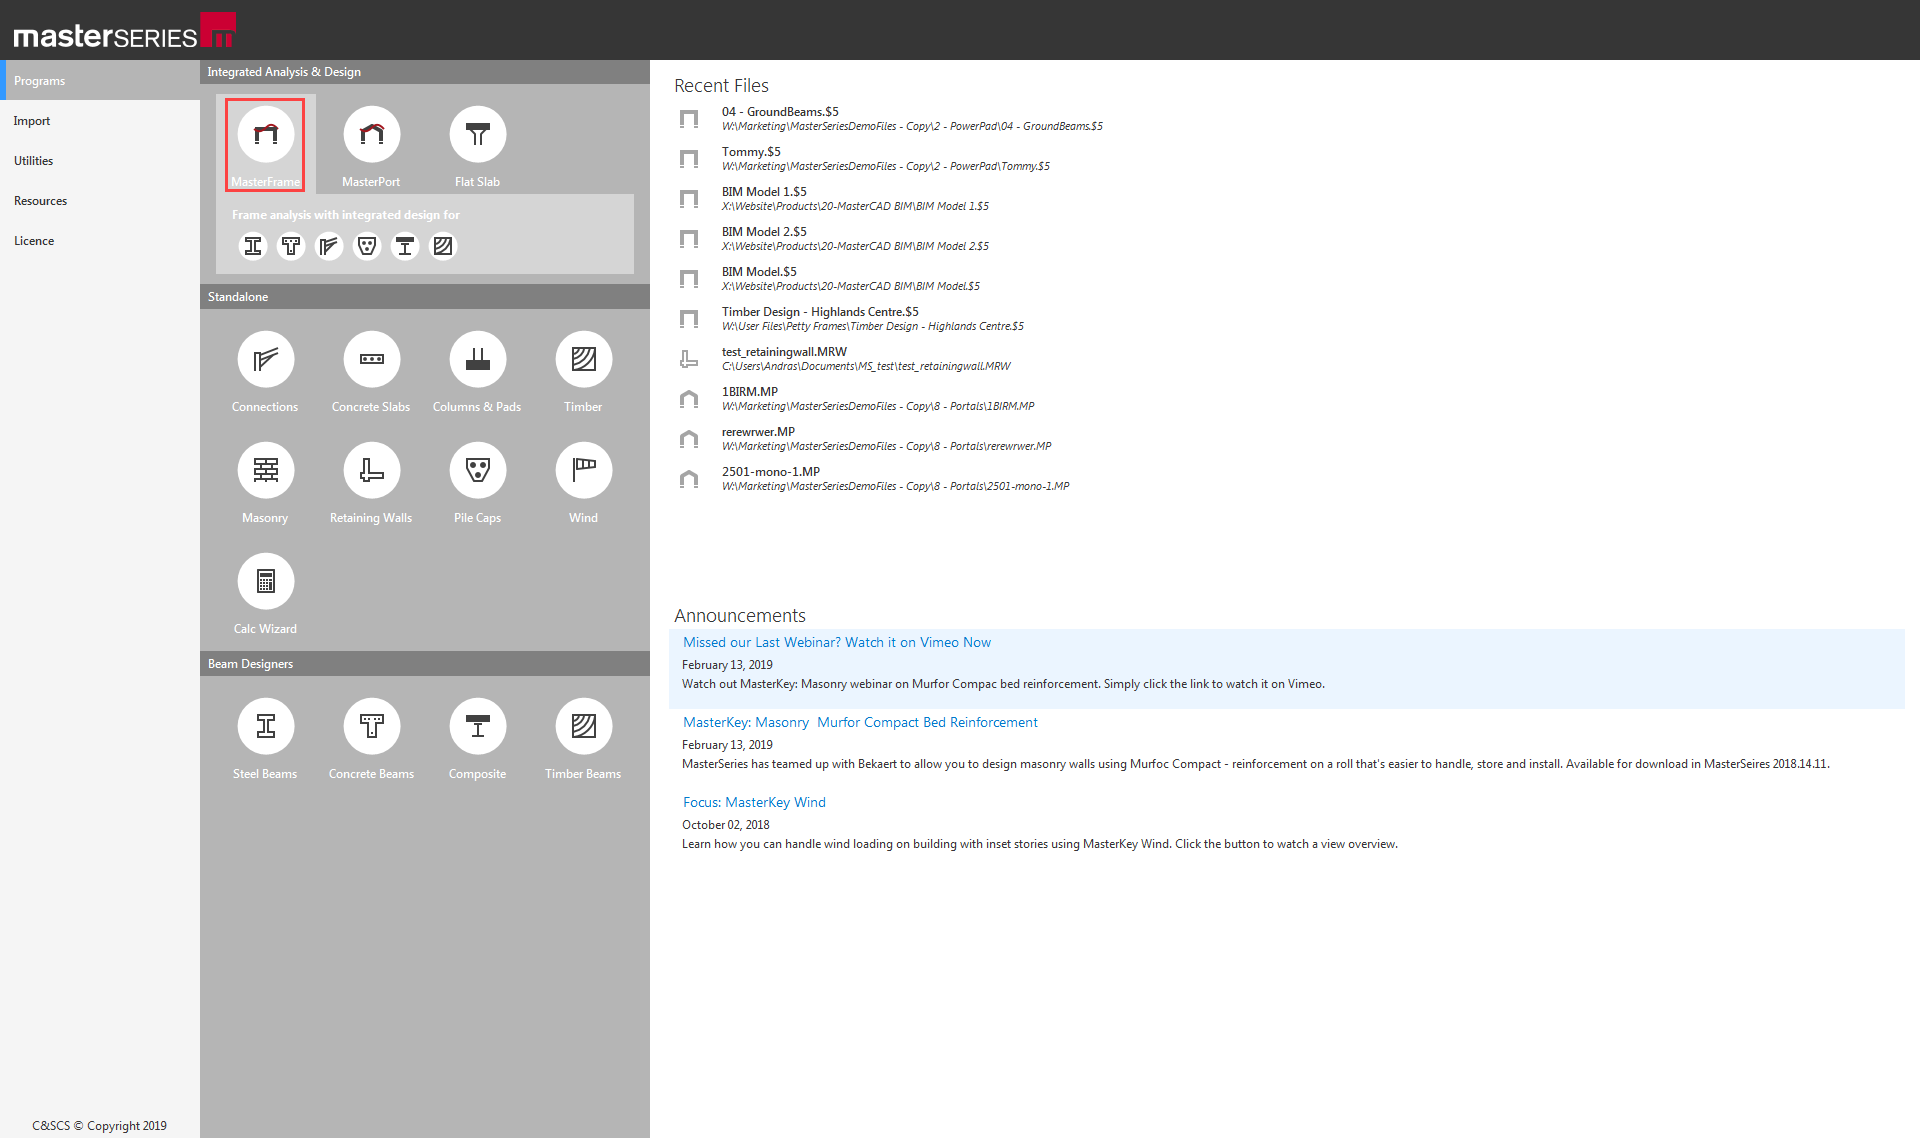
Hovering over the MasterFrame icon, the available integrated design options appear with small icons.
The File Selector dialogue
The File Selector dialogue will now be displayed.
You can use the File Selector to navigate in your folder tree and to select, modify or delete your existing model files or create a new one.
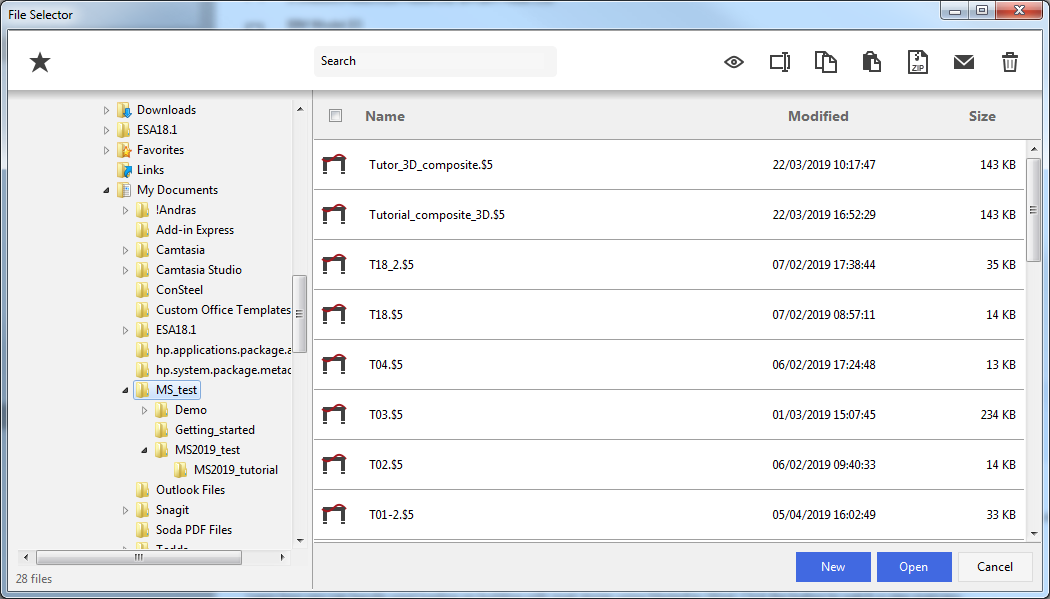
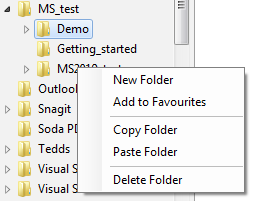
The left side of the File Selector is a usual Windows file tree (#1) which can be used to navigate between the folders. By clicking with the right mouse button on one of the folders in the tree, the following functions will be available:
1. Create a new folder in the selected folder
2. Add the selected folder to Favourites to create a shortcut
3. Copy selected folder to the clipboard
4. Paste the content of the clipboard to the selected folder
5. Delete the selected folder.
By clicking on the Star ( ) button on the top of the file
selector tree, we can see the saved favourite folders. By selecting one of
them, the file tree will immediately jump to there. By clicking the Star icon at the end of the line, we can remove or
add each of them.
) button on the top of the file
selector tree, we can see the saved favourite folders. By selecting one of
them, the file tree will immediately jump to there. By clicking the Star icon at the end of the line, we can remove or
add each of them.
The table, on the right of the File Selector (#3), lists all the MasterFrame models contained in the selected folder.
Just like in any other table application; by clicking on the header, the content of the table can be ordered by name, modification date or size.
Selecting one of the model files, it can be opened by clicking on the Open button or using the top tool bar’s functionalities (#2), it can be manipulated.
 View/hide the model preview window
 Rename the selected model file
 Copy the selected file(s) to clipboard
 Paste the selected content of the
clipboard to the actual folder
Paste the selected content of the
clipboard to the actual folder
 Zip the selected file(s) with all the
additional files
Zip the selected file(s) with all the
additional files
 Zip and attach to a blank email the
selected file(s) with all the additional files
Zip and attach to a blank email the
selected file(s) with all the additional files
 Delete the selected file(s)
Multiple file selection is available to select the files while pressing the Ctrl button or using the range selection by selecting the first one then select the last one while pressing the Shift button. Or all the files can be selected/deselected by clicking in/out the checkbox on the top of the first column.
To create a new model file click on the New button on the bottom, then type the name (for example Tutor01-2) and click on the Create button